Cox Concrete has been pouring concrete driveways and serving clients for more than 20 years. We have helped 100s of clients to realize their concrete dream projects. Here’s our step-by-step process that Cox Concrete follows for forming and pouring a new concrete driveway:
1. Site Preparation and Planning:
- Assess the site for the new driveway, considering dimensions, slope, drainage, and any necessary permits or regulations.
- Plan the layout and mark the area for excavation, taking into account the desired width and length of the driveway.
2. Excavation and Grading:
- Excavate the marked area to the required depth, typically around 4 to 6 inches deep, ensuring proper grading for water runoff.
- Compact the soil to create a stable base for the concrete driveway.
3. Installation of Formwork:
- Set up form boards along the edges of the excavated area using stakes, ensuring they are properly aligned and leveled.
- Secure the form boards firmly to create the mold for the concrete.
4. Adding Base Materials:
- Lay a layer of gravel or crushed stone evenly over the compacted soil to serve as a stable base and aid in drainage.
5. Reinforcement Placement (if needed):
- Install reinforcement such as rebar or wire mesh within the formwork to add strength and prevent cracking in the concrete.
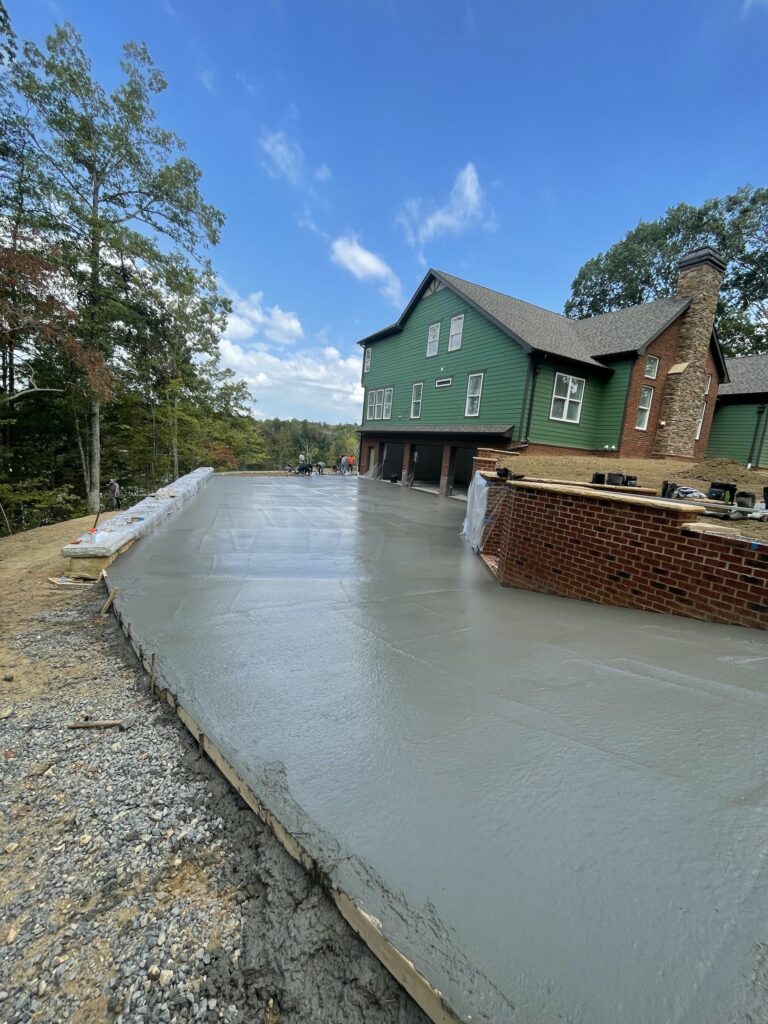
6. Concrete Mixing and Pouring:
- Prepare the concrete mix according to specifications, ensuring the right proportions of cement, aggregates, and water.
- Pour the concrete into the prepared area using wheelbarrows or concrete trucks, distributing it evenly within the formwork.

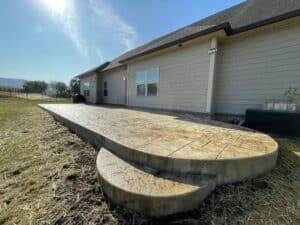
7. Leveling and Finishing:
- Use screeds and straight edges to level the poured concrete, ensuring a smooth and even surface.
- Finish the surface with trowels or floats to achieve the desired texture or smoothness.
8. Control Joint and Edge Cutting:
- Create control joints using grooving tools or saws to control cracking, typically spaced at regular intervals across the driveway.
- Cut edges along the perimeter of the driveway for a clean and defined finish.
9. Curing and Protection:
- Apply a curing compound or use curing blankets to protect the freshly poured concrete from rapid drying and ensure proper hydration.
10. Cleaning and Final Inspection:
- Clean up any excess debris or material from the driveway surface and remove the formwork after the concrete has sufficiently cured.
- Conduct a final inspection to ensure the driveway meets quality standards and specifications.
11. Allow for Curing Time:
- Allow the concrete to cure fully according to recommended curing times before subjecting it to heavy loads or vehicular traffic.
By following these meticulous steps, Cox Concrete aims to ensure the proper formation, pouring, and finishing of a high-quality concrete driveway that meets both functional and aesthetic requirements while prioritizing durability and customer satisfaction.
Project Bell was a massive concrete pour. We poured the driveway, multiple sidewalks, patio overlooking the water, and installed Mr. Bell’s retainer walls. Because of the size of the project, the pours were scheduled in segments to allow for proper curing time before developing the next section of the project.
Contact Cox Concrete today to get your Free Quote and one of our concrete specialists will be in touch! Also, be sure to check out our Free Project Design Guide for more tips and ideas for your existing or new concrete space!